


There is only one sure fire way to kill the buzz of getting a new bike part: when you unpackage your new upgrade, get to your work bench and realize - “s#!%, it’s not going to be compatible”. We’ve been there with all types of components and it’s not a good feeling. To help you avoid this when purchasing a PNW dropper, we partnered with JensonUSA to give you a good guideline for measuring your frame and using our measurement guides to ensure the right fit.
(To find the measurements for a specific product, just navigate to the product page and find the measurement chart!)
With dropper posts some of the compatibility checks are easy, like diagnosing the diameter of your seat tube and confirming if you are set up for internal or external routing. But when it comes to post sizing and determining what kind of travel your bike can accommodate things get a little more complicated than a quick glance at your bike or google search. So if you want to know the nitty-gritty of how we recommend measuring your bike, check out the video below or read on for an outline of the process.
The 5 Steps:
1. Determine routing style
The first step is to narrow down your options between internal or external routing. This will be dependent on how your frame is designed and/or personal preference. Some riders prefer external routing for ease of install and cable servicing, while others love the look and protection that internal routing provides. There are three ways to quickly determine this:
- Does your bike currently have a dropper? If so, does it have internal or external routing?
- Look for internal cable ports that would send the cable housing up the seat tube to the bottom of the post. Common spots for a port are towards the bottom of the seat tube, near the bottom bracket or possibly up near the head tube where your other internally routed cables enter.
- If neither of these are particularly obvious, try checking your manufacturers website. They should mention something about internal dropper routing or maybe head to Google to see if it's mentioned in the blogs. I typically search for something like "2014 trek fuel dropper routing"
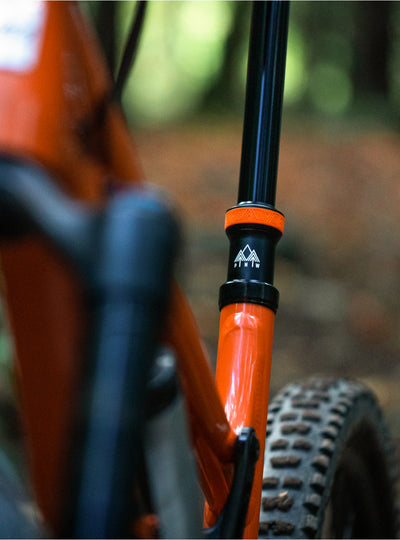
2. Determine Diameter
Next you'll need to know your seat post diameter. Most modern full suspension mountain bikes are either 30.9 or 31.6mm, but 34.9 are becoming more common. If you have a gravel bike or an older model MTB we also support these skinnier tubes with our 27.2 diameter dropper posts.
If you're outside these 4 sizes, you'll need to buy a seat post reducer shim which are readily available through shops or online. They're cheap, light and hidden, but we do recommend going through a shop if you are unfamiliar with this adaptation.
The quickest way to determine seat post diameter is to check your manufacturers website or Google it. Another way is to pull your existing post out of the bike and check for it to be either stamped or laser etched near the minimum insertion line or just towards the bottom of the post.

3. Find Max Extension
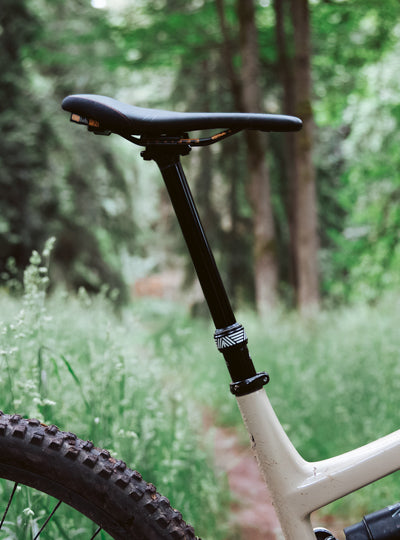
Next we need to identify what height you need your saddle when it's fully extended, aka seated and pedaling up a hill. We measure from the top of the seat collar to the center of saddle rails, or Measurement C on our measurement guides on each product page. This measurement is crucial because if you choose too long of a post, you won't be able to get the height low enough for pedaling.

4. Find Max Insertion
Equally as important to finding the maximum extension is understanding how far you can actually insert your post into the frame. It's a common mistake to only focus on the extension number and then be disappointed once you receive the post and can't get it low enough. The easiest way to find this is to measure from the top of your seat collar down to anything that would limit the post from inserting further. Examples are water bottle cage bolts, a bend in the seat tube, suspension linkage or even a seat post stopper that has been welded inside the seat post (mainly relevant on older bikes). This is Measurement D in our measurement chart.
5. Determine Total Length
Bringing it all together, you can now add the Max Extension + Max Insertion to get the minimum Total Length you'll need. Let's use an example from one of our own bikes, an Evil Following in size Large:
Max Extension (Measurement C): 286mm
Max Insertion (Measurement D): 179mm
286 + 179 = 465mm. This means I need a post that is no longer than 465mm long. It's worth noting that this calculation is for a size large frame for a rider around 6 foot 2 in height. The longest travel post this bike can run is a 150mm travel due to the short insertion depth of my Evil Following.
Comparing Apples to Apples:
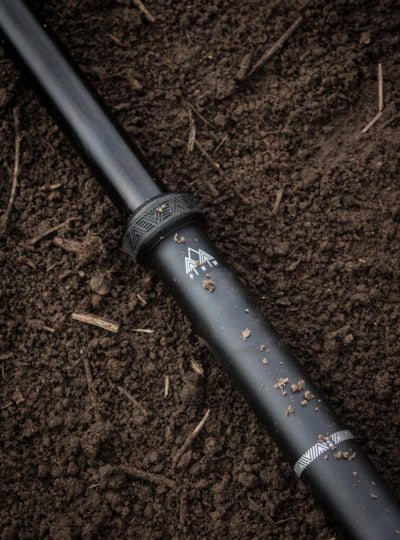
We'd like to bring up one last point which relates to there being no standard of measurement within the industry right now. This means that the Min, Max and Total Length vary between manufacturers so make sure you understand their measurement logic before comparing sizes between brands.
You'll notice that some brands ignore the actuator at the bottom of the post which is what would likely interfere with obstacles or kinks in your seat tube.
This makes for very short advertised numbers, but isn't a true representation of how long the post is. This is why we design our measurements for the worst case scenario.