


Our dropper posts are designed with reliability and top tier performance in mind, but after frequent use and abuse on the trails, they can occasionally misbehave. These quirks can be minor and are often resolved with some quick TLC in lieu of a full overhaul. No matter how big or small the set back, we’re happy to lend a hand, so we’ve put together five of the most frequent dropper post troubleshooting questions we receive from our customers. Read on to see if your dropper post dilemma is addressed below or if you’ll need to dive deeper with your maintenance.
Why Isn’t My Dropper Post Reaching Full Extension When Actuated?
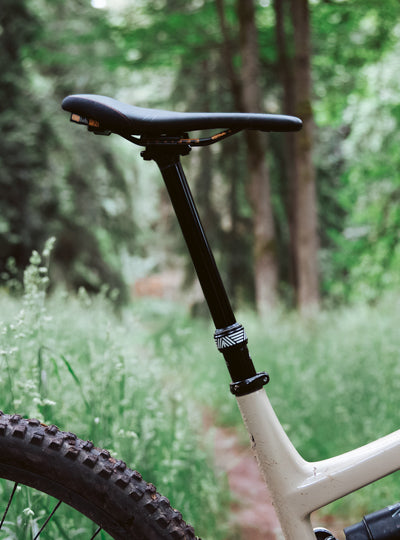
If your dropper post doesn’t reach its full height when actuated, the issue can often be more obvious than it seems. We recommend you check the tightness of your saddle clamp before conducting a full maintenance tear down and the psi of your post if you have the Loam, Coast, or Bachelor. A saddle clamp that is too tight can cause the dropper post to bind, thus, squeezing the stanchion while it’s inside the lower tube and effectively limiting the dropper’s ability to extend. To test whether this is the issue you’re facing, push your saddle all the way down, loosen your seat clamp entirely, then actuate the dropper. If your post extends fully with a loose saddle clamp you’ve found your culprit. Use a calibrated torque wrench to tighten the clamp to 4-5 Nm and retest your dropper. With a quick release clamp, tighten it just enough so the post won’t slip in the seat tube while riding in a seated position.

If your dropper post still has extension issues with a loose seat clamp, test it outside of the bike and ensure your cables are routed without kinks or connection issues at the lever. In frames that create sharp angles for the dropper cable, it’s possible that the cable is rubbing within the housing and hindering the actuation. If the issue persists but your cable is free of friction spots, give your dropper a nice cleaning and regreasing.
How Much Rotational Play Is Normal?
As cyclists, we’ve been conditioned to believe that any sort of movement in your bike’s parts is a bad thing, so we understand why it can be alarming when you notice your saddle can move side to side when attached to your dropper. Rest assured, this is built into our droppers’ design for the sake of longevity and reliability. Without a bit of wiggle room between the stanchion and the mid cap bushing, the dirt and grime that makes its way into your dropper could do some serious damage. We allow for 1-2 mm of play in the dropper post to avoid this.

To test if your dropper is within tolerance, place a piece of masking tape on the stanchion and one on the mid cap. Then draw a straight, vertical line between the two pieces of tape. Gently twist the saddle until you’re met with resistance and measure the horizontal distance between the lines on the tape. If it’s within 1-2 mm, you’re in the clear. If it’s greater, please reach out to our Customer Service team via email and they’ll help you get back on the trails.
Why is My Dropper Post Returning Slowly or Feeling “Spongy?”
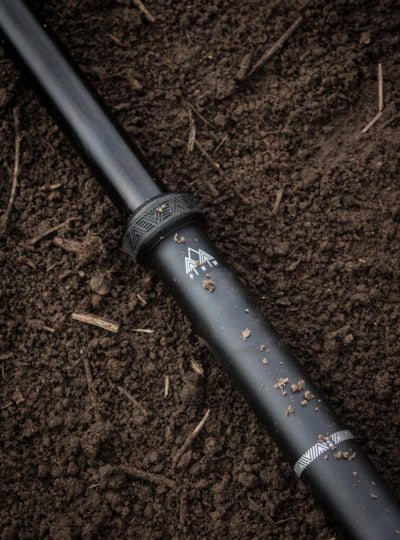
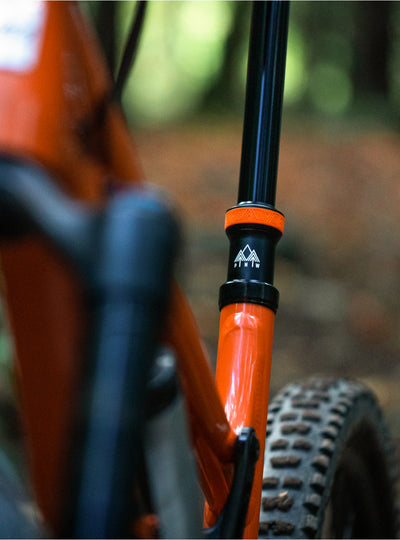
The Loam and Coast Dropper Posts, as well as the recently retired Bachelor, come with adjustable air cartridges that allow you to regulate the feel of your dropper post. The Loam and Bachelor's air cartridge enables you to customize the return rate of your dropper while changing the psi of the Coast will adjust it's tunable suspension. For the sake of safety, we ship these dropper posts to you with low psi, so they may feel a bit slow right out of the box. If your post isn’t as quick as you’d like, or sags under your weight while riding, use a shock pump to add air to the cartridge. Air valves can be located under the saddle head of internal droppers and on the stanchion of external droppers. Dial in your preferred return rate, but don’t exceed 300 psi when the post is fully extended.

How Do I Swap the Travel Adjust Bushing?
The Loam Dropper, 3rd Gen Rainier, and 27.2 Rainier all have travel adjust bushings that can be replaced if necessary. Swapping the travel adjust bushing is a piece of cake and will only take a few minutes to complete. First, unthread and slide the mid cap up the stanchion of your dropper post. Next, find the machined indent in the threads of the lower tube and use a fingernail to push the travel adjust bushing up the stanchion. As it's a split bushing, you'll be able to remove by prying it away from your stanchion. Refrain from using tools to avoid scratching your dropper's stanchion. Replace it with the your new bushing, seat it in the lower tube, and rethread the mid cap and you're good to go.

How Do I Keep My External Dropper’s Cartridge From Overextending During Maintenance?
We see that you’ve taken a stab at maintaining your post and we’re proud of you. Choosing to maintain your components rather than replacing them is a decision that should be celebrated. You cruised through the maintenance but just as you were about to finish the job, you hit a wall; your dropper’s cartridge is overextending (i.e. pushing out of the lower tube when you’re testing the dropper).

To fix this and finish your maintenance, first push and hold the lower assembly arm against the actuator rod with your index finger. As you hold it in a compressed position, use your thumbs to push the lower assembly into the post until it sits tightly against the lower tube. Release the lower assembly, then release the lower assembly arm (watch this video for a visual aid). Wrap the excess nylon cord around the lower assembly arm, thread on the lower cap, and you’re good to go. Test your dropper again before inserting it in your bike to be sure everything is working properly.
If you were unable to resolve any of the problems in the article above, or if you're experiencing issues that were not covered in this article, please contact our Customer Service team via email (info@pnwcomponents.com) for guidance. Sprucing up your bike before the riding season begins in full? Be sure to maintain your dropper post and give it a fresh batch of grease. Click here for our step by step dropper post maintenance guide.